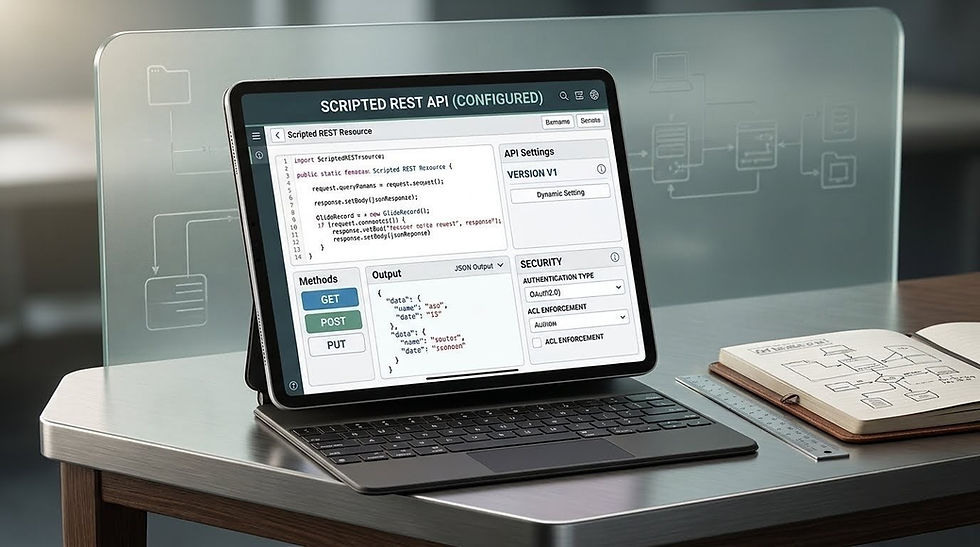
Tips and Tricks for Creating ServiceNow Workspaces

ServiceNow workspaces are a great way to build a unified workspace without users having to go to many different modules in your ServiceNow instance.
However, the process to build them isn't the most intuitive (ironically) based on our experience building workspaces. We wanted to capture some tips and tricks we came across building our workspaces, including links to various guides and forum posts that might be useful to you.
A good starting point to get familiar with workspaces is this guide which will get you and running with a workspace built as its own scoped app. For information on workspaces in general, starting with ServiceNow's documentation as well as this YouTube video.
For us, we wanted to build some of our current functionality into a workspace so below are different components we converted over into a workspace and some notes along the way as we figure out people might run into similar challenges.

UI Actions
Form
If you already have form UI Actions created on tables you want to use in your workspace, these UI Actions won't appear in your workspace by default. UI Actions now have a section for Workspace settings for how UI actions appear and work in workspaces. What we found was selecting the appropriate workspace options (to appear on a form menu and/or form button) and having an onClick() function in the Workspace Client Script that called the g_form.submit('<form_action_name>') would cause them to work and minimize how much we had to change. Use this guide for more details.

Of course you can always use these Workspace settings to have workspace-specific UI actions so you can keep your standard UI actions separate.
List
List UI actions are not supported in workspaces and instead you have to create them as Declarative Actions that are List Actions (found under the Now Experience Framework > Declarative Actions > List Actions module).
They can be client or server script UI actions. One thing of note is you can't use gs.addInfoMessage() and instead will need to use the standard JavaScript alert() for displaying any messages to users. See this link and this link for more information.
Client Scripts
If creating a new client script, see here for more information. If you have a current client script you want to use in the workspace, configure the UI Type field to have the value "All" so it works in your workspace.
UI Policies
If you want your run scripts UI policies to apply in your workspace, you will need to have the Run scripts in UI type field set to "All".
UI Pages
If you have UI pages that you've built and want to include in your workspace, you can include the UI pages by embedding them in an iFrame component.
First create a new workspace page, choosing to "Create from scratch instead".
In the Content panel, under Body choose "Add content" and search for "iframe" to find the iFrame component. Click to add it.

You will then see the options to configure the iFrame, with a few notable options:
Source - If you currently link to a UI page in a module using the URL (from Arguments:) link type with Arguments holding the link to the UI page with any parameters (such as my_ui_page.do?sysparm_action=view), you can use the same link in the Source field, adding / in front of it i.e. /my_ui_page.do?sysparm_action=view
Disable sandbox - We had to select this option for the UI page to load properly
Allow top navigation - We had to select this option for the UI page to load properly
Width - Since we wanted only our UI page to be shown, we made the width 100% to take up the entire workspace page
Height - Similar to width, we set this to 100% since we wanted the UI page to take up the entire workspace page.

NOTE: We also had to click on the Body element in the Content panel and then in the Page configuration panel that appears on the right, click on the Styles tab and choose the "Show advanced configuration options" where we adjusted the Height configuration to be 100% (we didn't have to set the Width). Both the Body and iFrame's height needed to be 100% for our UI page to take up the entire workspace page.

Dashboards
To add dashboards to a workspace page, we found the best approach to be as follows:
Create the dashboard through Platform Analytics
Add the workspace to the dashboard's Dashboard Visibility configuration. This way you can select the dashboard when creating a new workspace page.
Create a workspace page using the Dashboard template and select the dashboard you created as the Default Dashboard.
If the dashboard doesn't show properly, you may need to go to the Data and scripts Panel (located beneath the Content panel on the left) and look under Data resources, and then choose the Dashboard controller. This will open up the controller's configuration where you will see a dashboardSysId field. Enter the sys_id of your dashboard you created in step 1 here.

If you run into issues with your users not able to access your dashboards in the workspace page, getting errors such as "You do not have permission to access this dashboard at the moment Contact your system administrator to request permission", you can try fixing access by following the information on this page.
This didn't seem to work for us and instead we went to the dashboard directly (i.e. from Platform Analytics > Library > Dashboards) and added access through the Share option.
If your dashboard allows clicking through the visualization to view the data in more detail (such as viewing the list of records for one particular visualization), you will want to click on the dashboard component in the Content panel and then select the "Drilldown to Core UI" configuration option that will appear in the component's Configure panel on the right. Otherwise you will get a "page cannot be found" when trying to click on the visualization.

Other Workspace UI Configurations and Settings
The previously mentioned guide has good information for setup such as naming a page "Home" to be the default page loaded when going to your workspace, creating lists of records to show in your workspace, how to include your workspace in the Workspaces menu along the top banner of your instance UI, etc.
Related to the Workspaces menu, to control roles access to it, see here
canvas_user is a role needed for a user to access workspaces
When creating variants so you can control access to workspace pages so one audience (i.e. roles, groups, users) sees one version of the page while another audience sees another version, the order field on the variants controls which variant it tries to access first, with the lowest order tried first similar to how you use the order field on business rules. So if you have a default variant with an order of 0 and no audiences listed, then this variant will always be shown even if you have another variant that has a specific audience that you want to see that particular variant. For example, the default variant has an order of 0 and no audiences while the "agent" variant has an audience of "agents" and an order of 1. The users in the "agents" audience will see the default variant since it has the lower order number and no restrictions. In this case, you would either add an audience to your default variant or give your page with audience a lower order number so it gets evaluated first.
If using the List template for a workspace page, check to make sure users have access to see the lists themselves by adding sys_ux_applicability_list and sys_ux_applicability_m2m_list records as described here. Otherwise, the list will show blank with a message such as "No lists available".
In the guide where it mentions about Configuring Lists for Workspace, this will make your list configured here the default list anytime you use the List template in your workspace. So that means, if you create other pages that you want to use the List template, they will all default to using the same list.
When creating a record page, this becomes the default page used when viewing any record in your workspace. So keep this in consideration as you configure this page using specific parameters, views, etc. (including using the view sys_ux_page_property as specified below)
If you want to specify the view to use in your workspace (such as using a specific view for when opening a form), you create a record in the sys_ux_page_property table for your workspace scoped app, specifying the name as "view", type as "string" and the value as the view you want to display i.e. "it_agent". This link provides more details. Note that this view is used for the entire workspace so any place that opens up a form will use this view.
Also in the sys_ux_page_property table, create a record with the name of "chrome_tab" that will hold various tab configurations. These configurations are stored as a JSON in the value field and one useful configuration is adding "record" into the "contextual" field of the JSON object: {
"contextual": [
"record"
],
"maxMainTabLimit": 10,
"maxTotalSubTabLimit": 30
}

The "contextual" field of the value JSON object tells what types of objects will open in a new tab versus in the current tab. So adding "record" means when you open up a record, it will display the form view of the record in a new tab in the workspace. This way, you will still have your previous tab (such as a list view) so if you happen to delete the record, the previous tab will then be shown. If you don't have the record open up a new tab and instead open in the same tab, it will then show a "record not found" page since the tab will try to go back to the record you just deleted.
Wrap Up
As you can see there's a lot that goes into building a workspace but once you figure it out, it does have value in terms of keeping everything in one place and having a more modern looking UI. If you run into any issues setting up your workspace related to any of the above, feel free to send us a message.
Saiborne offers software consulting services to help companies meet their business objectives and get the most value out of their software products. We specialize in ServiceNow solutions with our certified experience including development of apps released to the ServiceNow Store with our previous companies. Contact us to find out how we can help you with any ServiceNow needs.